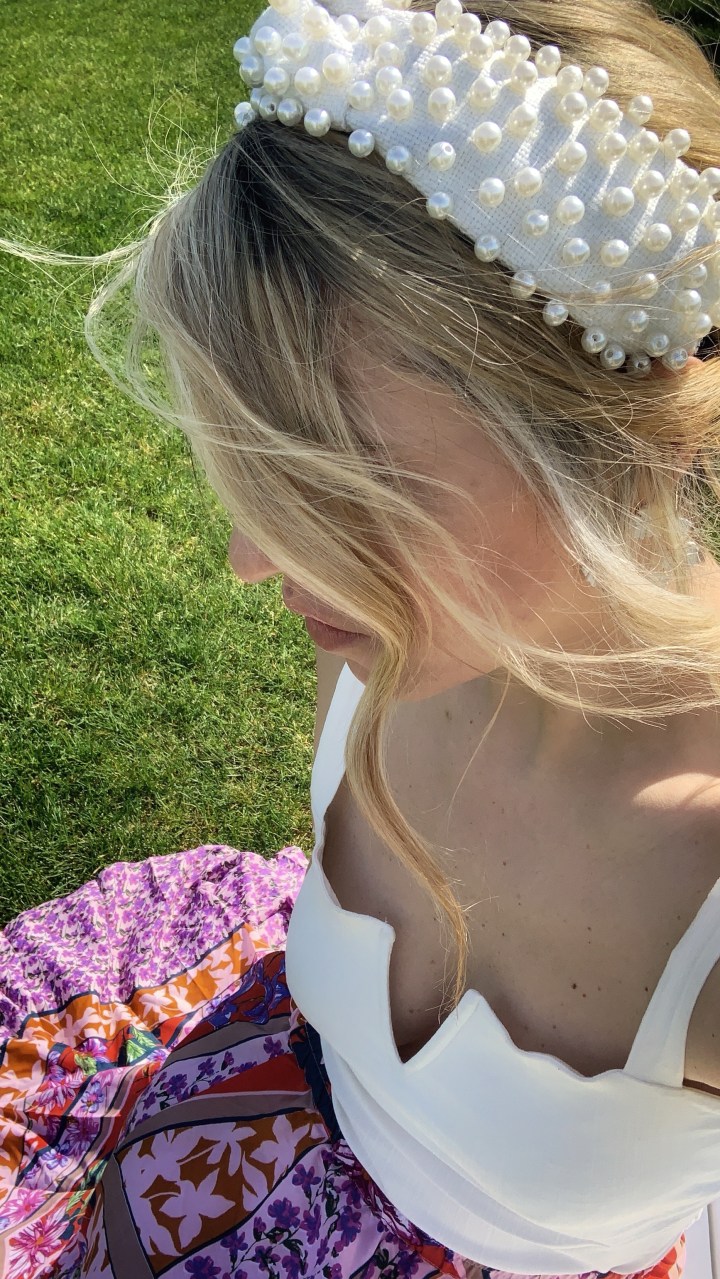
I have been seeing this gorgeous pearl embellished headband everywhere online and ALL over Instagram. When I first laid eyes on it I said to myself I HAVE TO OWN THIS!! A quick google search later, sadly found out the ridiculous price tag of $150, so yeah maybe I don’t have to have it. For some things, I do not mind waiting a while and saving up all my pennies and invest in a good staple piece. But come, on we all know that this adorable pearl headband might not even still be on trend by the time you finish reading this. Although I am sure that it is extremely well made and very comfortable. I just can not justify the price tag.
I went on a quest online to find some dupes, and sure enough, I found some but I found that they were not close enough to the real thing, they were either the wrong color, not enough pearls or the right fabric. My need for this headband in my life was so great that I set out to make my own!! And guess what guys?!!! It was super easy and cheap!!! You do not have to be handy or a DIY maven to get this done. All you have to know is how to use a pair of scissors, a hot glue gun, tie a knot and glue on some pearls!! (and maybe a sewing machine if you prefer that vs fabric glue)
I am so excited to share this with you! So let’s get to it!
Based on the online description of the original headband it’s 2 1/2 inches wide so I purchased 6″ of fabric, for the main part of the headband I chose a sturdy upholstery fabric ( in ivory because that’s the colorway I loved the most), so it could hold its shape and the weight of the pearls without flopping over. The inside of the headband you can choose a lightweight fabric of your choice. The plastic headband should be at least 1 inch wide and can be purchased on Amazon or a craft store along with the other supplies.
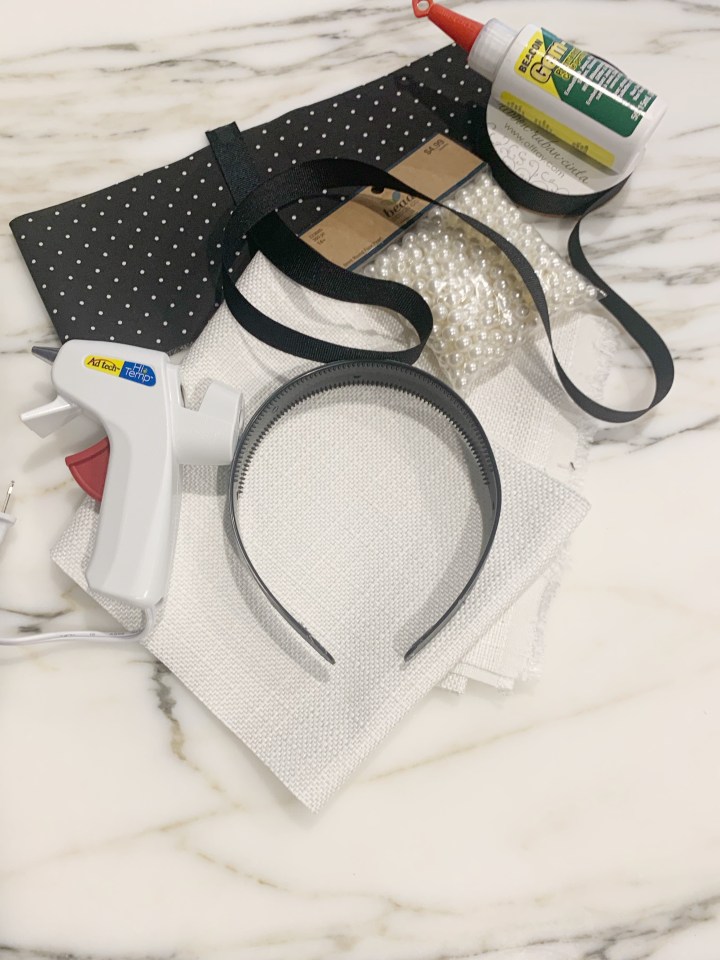
Supplies
- Plastic Headband at least 1 inch wide
- 6 inches of a heavyweight fabric
- 3 inches of a lightweight fabric
- Hot glue gun and sticks
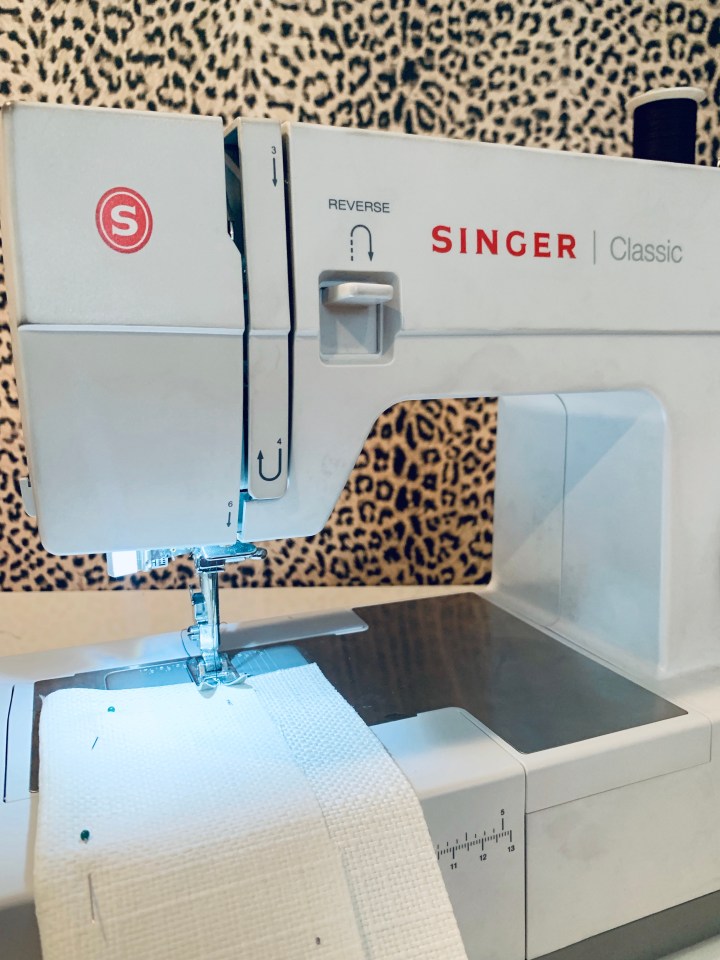
- Fabric glue (sewing machine)
- Gem Tack
- 8mm Pearls
- Ribbon
First step is to line the inside of the headband with your lightweight fabric, this part can get a little tricky because you don’t want the fabric to buckle, start off by gluing the end of the fabric on one end leaving a little hanging over the edge so you can fold the fabric over at the end of the headband (keep the fabric longer than the headband to give it some slack while gluing).


It is important to do this in phases, line the fabric up with the headband and make a cut about every inch and a half and fold over and glue it, this will help for the fabric not to buckle. Once you made your way around cut the excess fabric and fold over the end like you did on the other side. Cut off any extra fabric that might be overlapping on the top part of the headband.
Next, we are going to work on the top part of the headband. Remember to keep the length of the fabric longer because of the knot. If you cut it exactly the length of the headband you will not have enough fabric to make the knot or to cover the headband.
")
")

Fold the fabric in half with the “right” side of the fabric on the inside, so that when its glued or sewn the seam will be on the inside after we are done. In order for the headband width to be 2 1/2 inches, you want to mark your fabric from the fold in, pin the fabric together so that it doesn’t move while sewing or gluing. Glue or sew along the measured line. Once sewn or glued cut the excess fabric and turn the “tube” right side out so that the seam is on the inside.

Tie a knot by wrapping the fabric around the headband. Make sure it is centered before moving on to the next step. Keep the knot a little loose so that it will have that nice full look to it. Secure it with a few drops of hot glue.


Once the knot is secure and centered you will want to bind one of the ends, keeping the body part of the headband a little loose and unglued for now. Pinch the end of the fabric so that it fits the width of the headband, adding a little bit of glue between the fabric and the headband, cut a little piece of ribbon and wrap the end of it so that it has a finished polished look, and most importantly will be soft and comfortable when its on your head. I hate it when headbands dig into the side if your head! The worst! Repeat on the other side. After that is all set you can secure the fabric to the headband with some hot glue.


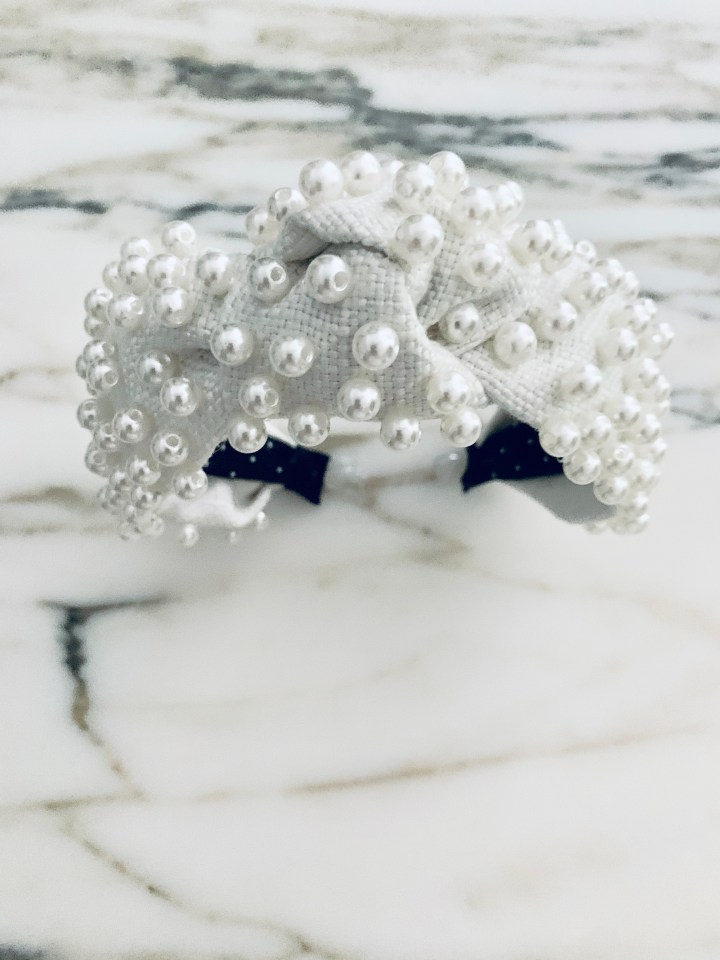
The original headband has a very soft loose look, which I really like, as you can see above I tried to have mine look the same. How cute does that polka dot look? Those small finishes really make it look like the original and way more sophisticated than a headband you could snag at Target.
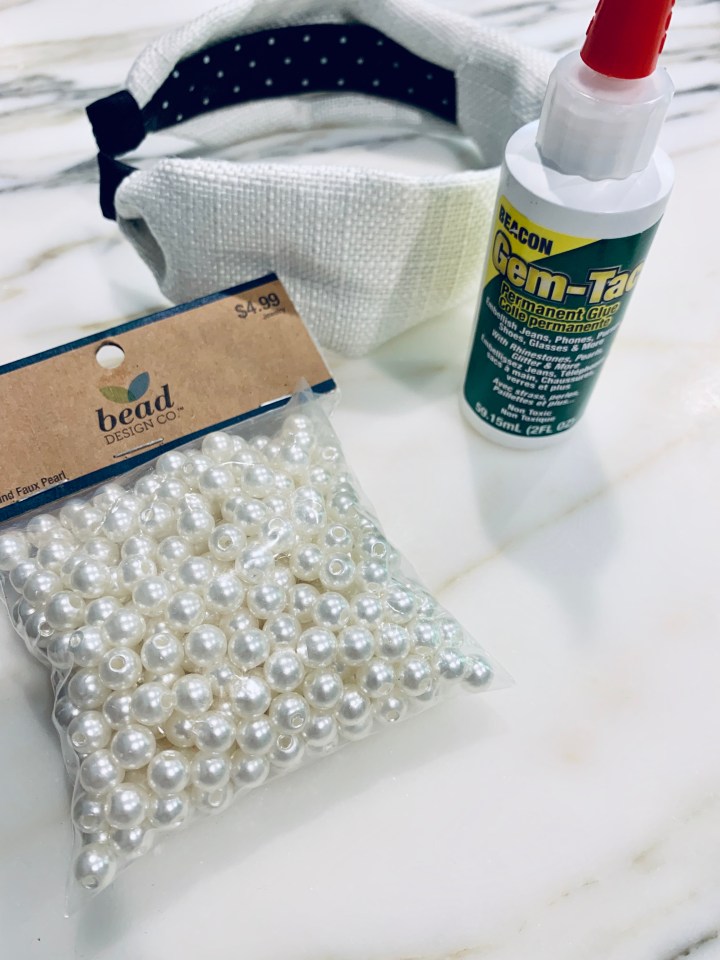
On to the last step, and the most fun in my opinion. Gluing the pearls on to the headband! There is no wrong way of the order on how you glue them. I just started on the edge of the fabric for the first row, then for the second I just alternated the pattern and so forth for the remaining rows.


I wasn’t too worried about keeping a pattern flow going I just used it as a loose guideline. It helped so that I didn’t end up with them too close or far apart. Then I just went in and filled in the spots where I felt needed some more, and I think I might have gone a little overboard, but I can’t say that I mind it. And C’est Fini!!!


Below is the original headband that was used for inspiration.
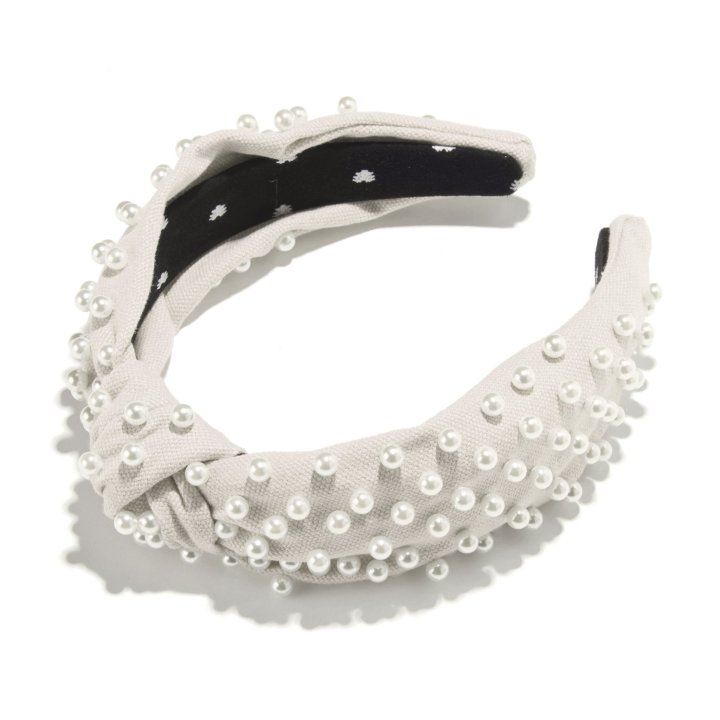
Pretty close right?? Original $150 My DIY under $20
Hope you all get inspired to not let a price tag stop you from being fabulous!
I would love to hear if you end up making this or if you think that it’s a good dupe!
Comment below!
XO
Julia

I am blown away! It looks like the exact same headband but for way less. Great DIY!
LikeLike
Love this 😍❤️❤️Beautiful as everything you do my talented baby 😍😍
LikeLike
Nicely done!!
LikeLike
This looks amazing, although I don’t think i am talented enough to make my own. Turned out fantastic!
xx, Elise
http://www.sparkleandslippers.blogspot.com
LikeLike